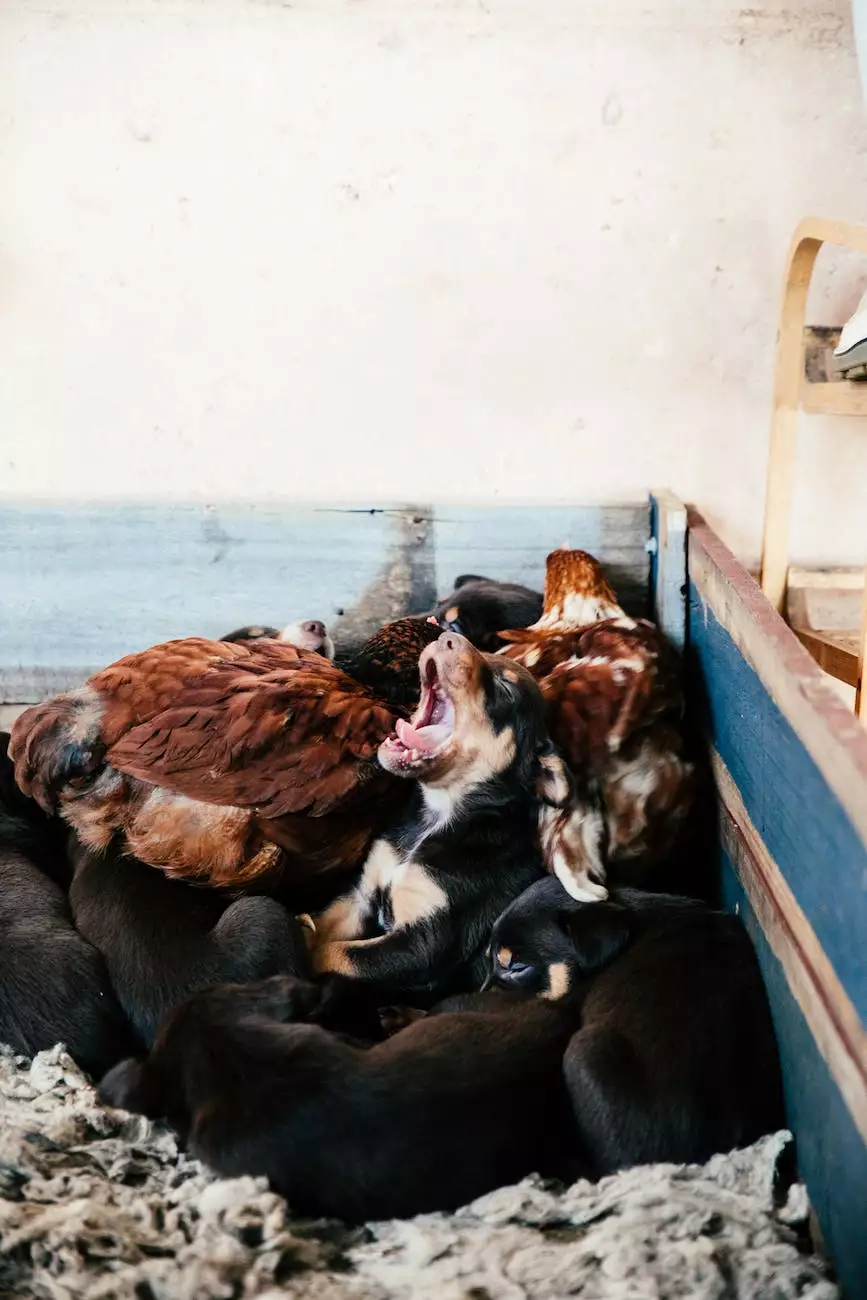
Sanitizing Incubator and Eggs
Introduction
Welcome to Pollen Bank, your go-to destination for eCommerce & Shopping - Food & Supplements products. In this guide, we will delve into the importance of sanitizing incubators and eggs for successful hatching and your flock's overall health. Whether you are a seasoned breeder or a beginner, maintaining a clean environment is crucial. Let's explore the best practices and methods for achieving pristine conditions.
Why Sanitization Matters
Sanitizing your incubator and eggs is paramount to prevent the spread of diseases, eliminate harmful bacteria, and optimize the success rate of hatching. A clean environment provides the ideal conditions for embryo development, increasing the chances of hatching healthy chicks or animals. Neglecting regular sanitation can lead to a compromised hatch rate and potential health issues for both the embryos and adult birds or animals.
Types of Incubator Sanitization
There are several methods available for sanitizing your incubator, each with its own advantages and considerations. Let's take a closer look:
Dry Heat Sanitization
Dry heat sanitization involves raising the temperature inside the incubator to a level where harmful bacteria cannot survive. This method is effective in killing pathogens and does not require the use of chemicals. It is important to confirm the temperature range suitable for your specific incubator and monitor it closely during the sanitization process.
Chemical Sanitization
Chemical sanitization involves the use of disinfectants or sanitizers specifically designed for incubator cleaning. These products help eliminate bacteria, viruses, and fungi effectively. It is crucial to carefully follow the manufacturer's instructions and use the recommended dilution ratios to ensure safe and effective sanitization. Always allow sufficient time for ventilation to prevent any harmful residual chemicals from affecting the eggs or future hatchlings.
UV Light Sanitization
UV light sanitization is an increasingly popular method for incubator cleaning. It utilizes ultraviolet light to destroy microbial DNA, rendering them unable to reproduce. This method provides a chemical-free approach and effectively reduces the risk of bacterial contamination if used correctly. Make sure to consult the manufacturer's guidelines and take necessary precautions to avoid direct exposure to UV light, as it can be harmful to your eyes and skin.
Sanitizing Eggs and Egg Handling
In addition to incubator sanitization, it is crucial to properly handle and sanitize the eggs themselves. Clean eggs give your embryos the best possible chance of developing into healthy chicks or animals. Here are some essential tips:
Collecting and Sorting Eggs
Collect eggs regularly to prevent any potential bacterial growth or contamination. Discard cracked, dirty, or abnormal eggs, as they may pose a risk to your hatch rate. Sort the remaining eggs by size, ensuring proper air circulation and optimal settings during the incubation process.
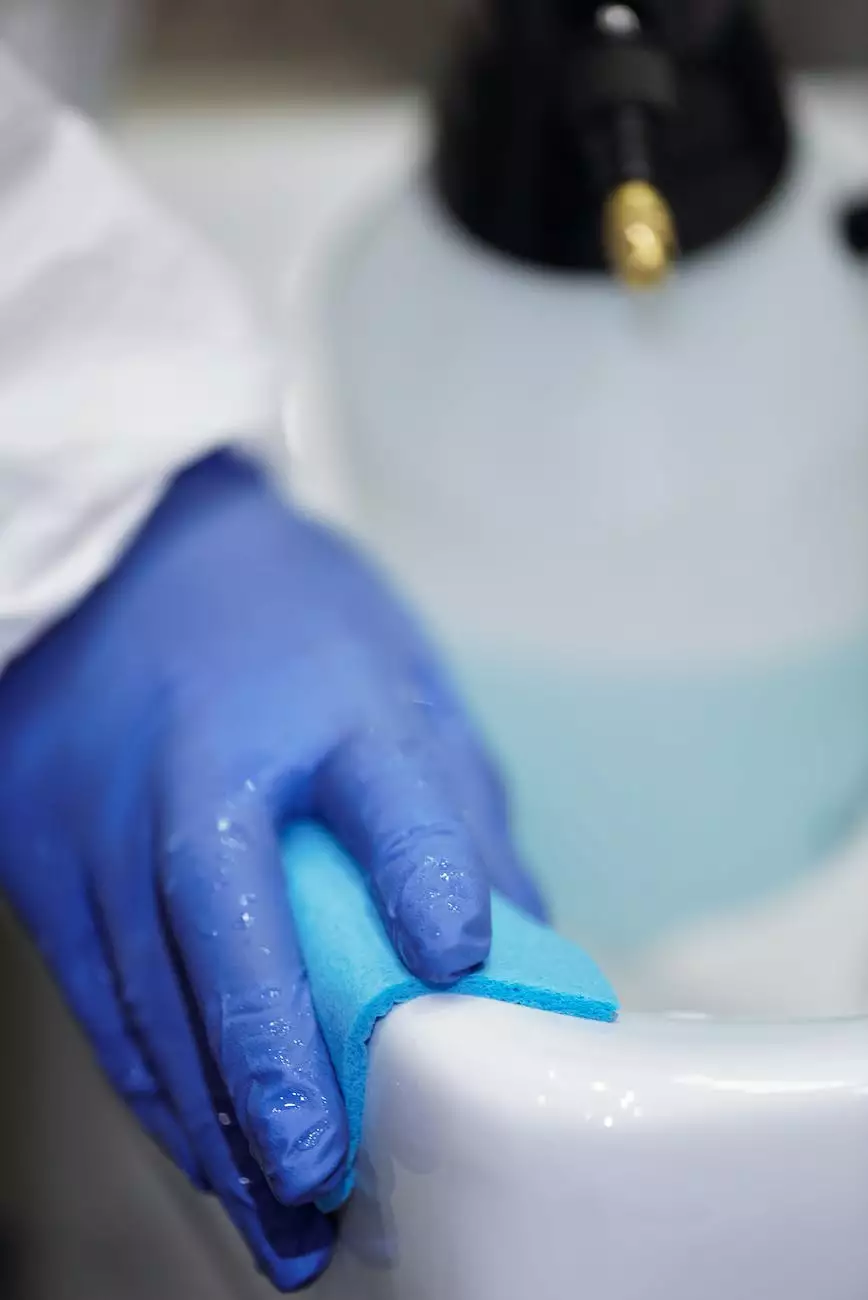
Egg Cleaning
Clean eggs gently using warm water and a sponge or cloth. Avoid using cold water, as it can cause the pores on the eggshell to contract, potentially pulling bacteria into the egg. Do not use detergents or harsh chemicals, as they can damage the delicate protective layer covering the eggshell.
Disinfecting Eggs
Applying a mild disinfectant solution to the eggshell before incubation can help eliminate surface bacteria. Use a recommended egg disinfectant product and follow the instructions carefully to avoid any negative effects on the embryo inside the egg.
Cleaning Routine and Maintenance
Maintaining a regular cleaning routine for your incubator and eggs is key to ensuring optimal conditions for successful hatching. Here are some guidelines to follow:
Pre-Incubation Cleaning
Prior to starting a new incubation cycle, thoroughly clean and disinfect your incubator. Pay close attention to areas prone to bacterial buildup, such as the water reservoir, ventilation systems, and trays. Remove any debris, such as eggshells or feathers, and sanitize all surfaces according to the manufacturer's recommendations.
Mid-Incubation Monitoring
During the incubation period, monitor the humidity levels, temperature, and ventilation regularly. Keep the incubator clean by removing any unhatched or damaged eggs promptly. Ensure proper airflow to prevent the development of mold or bacteria.
Post-Incubation Cleaning
Once the incubation period is complete, carefully remove the hatched chicks or animals and transfer them to a suitable brooding area. Clean the incubator thoroughly to remove any leftover debris or unhatched eggs. Disinfect all surfaces and allow them to dry completely before the next use.
Conclusion
Proper sanitization of incubators and eggs is crucial for successful hatching and the overall health of your flock or animals. By implementing the right sanitization methods and maintaining a consistent cleaning routine, you create a safe and optimal environment for your embryos to develop and thrive. Trust Pollen Bank to provide you with top-quality eCommerce & Shopping - Food & Supplements products to support your breeding journey. Ensure that you follow the specific guidelines provided by your incubator manufacturer and always prioritize the well-being of your animals as you embrace the joy of hatching new life.